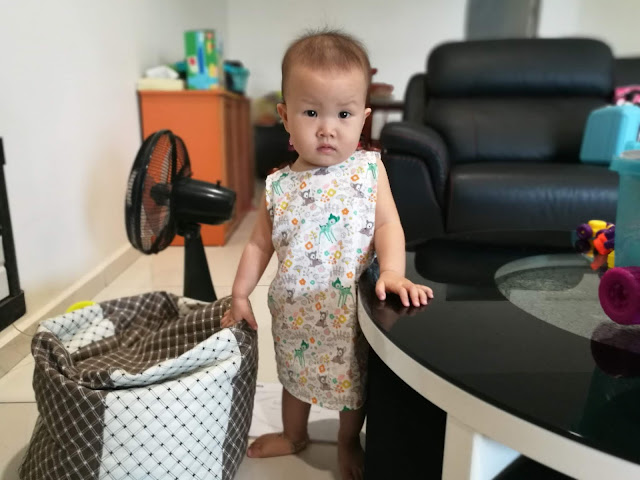
This is the first time I sew a decent dress which I think my daughter can wear out. This tutorial is good and really recommended for beginners like me. Note that my sewing skill is amateur level (though I have sewn the entire house's curtains). Still, without a proper guru, I think my dress looks okay but of course, there's still room for improvement.
I really appreciate your tutorial very much, Anjalee Sharma. You are one of the best Youtube gurus I learned from.
This tutorial teaches
I really appreciate your tutorial very much, Anjalee Sharma. You are one of the best Youtube gurus I learned from.
This tutorial teaches
- how to sketch a toddler's bodice front and back
- how to sew the whole dress, including a simple inner
I improvised the pattern:
- using my Dad's old singlet as a thin breathable inner lining for the dress
- instead of using bias tape for armholes, I used a big piece to cover the neckline as well as armholes using the singlet
Camille is currently 17 months old to be soon. So, consider this 12-18 mo size dress.
Materials:
- 40 x 50cm x 2 pieces (I bought ready-cut) = RM 3.98
- 4 large wooden buttons (or any other accessory you like)
- almost 30-years old electric sewing machine
- white thread
Size: 12-18 mo
Camille's measurements / step-by-step:
- Shoulder length: 4.5"
- Neckline width: 2"
- Neckline depth: 2.5"
- Armhole: 4.5"
- 1/2" shoulder slant drop
- Chest + 1" : 5.75"
- Dress length : 18"
This is obviously very short..
First time drafting pattern and I made a mistake for making it too short
Then, I added blue pleats to lenghthen the dress
This is how it looks now
Then, I felt the urge to make another one
Yes, I used pencil instead of sewing chalk
Perhaps I should invest one soon
This is the improvised version I mentioned above
Instead of using bias tape for the armholes, I made the entire piece covering neckline and armholes
Haha..
Side view
Mom, I'm getting tired posing..
Okay, back view
Let's continue watching Cocomelon
Before making it longer


0 comments:
Post a Comment